Continuing our Disney series with this Sleeping Beauty inspired cake my daughter Dina made for her sister!
We all remember the part when Maryweather and Flora are fighting over the colour of the dress, in the cottage and at the end of the movie! Pink! Blue! I personally love the pink ever since I was a kid! How about you?
Like the Beauty and The Beast post this is just a ‘what we did’ kind of post! It’s just for fun, and if anyone wants to try it out they can. I am not a baker blogger so don’t expect me to write up a post like one haha!
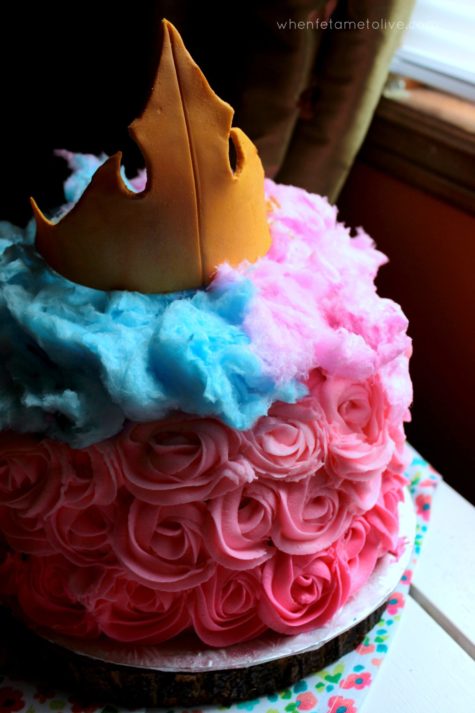
So keeping with the theme of Sleeping Beauty, we have roses, berries just like the ones Aurora picked in the forest, her crown, the clouds that appear at the end of the movie, and of course the cake itself is pink and blue!
We have seven layers of blue ombre cake; you can make less layers for a more stable cake, but if you are making seven layers I recommend making a homemade cake batter, because cake mix is too soft and moist. We did try it with cake batter and it collapsed so I am saving you time and effort! You can however use homemade and cake mix if you are doing seven layers and alternate layers, it does work but you still need to use cake dowels.
If you are doing let’s say 3 or 4 layers of cake, cake mix should be okay but freeze the layers so that it is easy to work with, since it breaks so easily.
For the cake batter, divide batter in bowls and colour them with blue food colouring, going from light to dark.
We used a lot of butter for this, no joke! I think in this warm weather it would be wise to add some vegetable shortening to the buttercream, as butter just melts in your hand as you are piping. But because of taste and personal preference we didn’t add enough; if we were to make another cake like this in this kind of weather I would add more knowing the struggle.
We used just about three 1 kg bags of icing (powder) sugar for the frosting as well as a package and half of butter (about 3 cups of butter). This icing was used for the layers, crumb coating and the roses. I used salted butter; it cuts off the sweetness.
You will need to make your buttercream in two batches. For the first batch used in the layers, use 1 cup of salted butter along with 1 kg icing sugar (powder sugar) and beat in a mixer adding 3-5 tablespoons of milk depending how you like the texture; start with 3, and go from there. We like adding a whipping cream like Nutri-Whip to the icing, as it makes it light and fluffy and less sweet. We used the whole container of Nutri-Whip, and folded it into the buttercream frosting after it is finished whipping.
Layer the cake layers, add icing and blackberries to every layer, and press dowels in appropriate places.
After layering and crumb coating the cake, freeze the cake over night; it makes it so much easier to work with.
For the pink buttercream you will need 1 and 1/2 cups salted butter, and 1/2 cup vegetable shortening; use half and half if it is hot, trust me! Cream the butter and shortening and add the icing sugar. Pour in about 5 tablespoons of milk, adding more as needed.
In three separate bowls, make your pink colours for the icing, going from light to dark.
Do a pink crumb coat on the cake before adding the roses.
You will need 3 large piping bags, and a 1 M tip for the roses; I have 3 tips so that made it easy!
Pipe on the roses in the three colours; we started with the darkest shade of pink and went lighter on the top.
For the ‘clouds’ we used blue and pink cotton candy.
My daughter printed the template for Aurora’s crown and cut out the fondant around the template. She coloured it a deep yellow and let it dry over night, standing up against a cup. She then painted it with a combination of bronze and yellow luster dust.
It turned out beautiful and tasted amazing as well! It is a fun and creative cake; it’s not too difficult to make. I think it would make for a fun project cake to do with the kids. Try it yourself and let us know!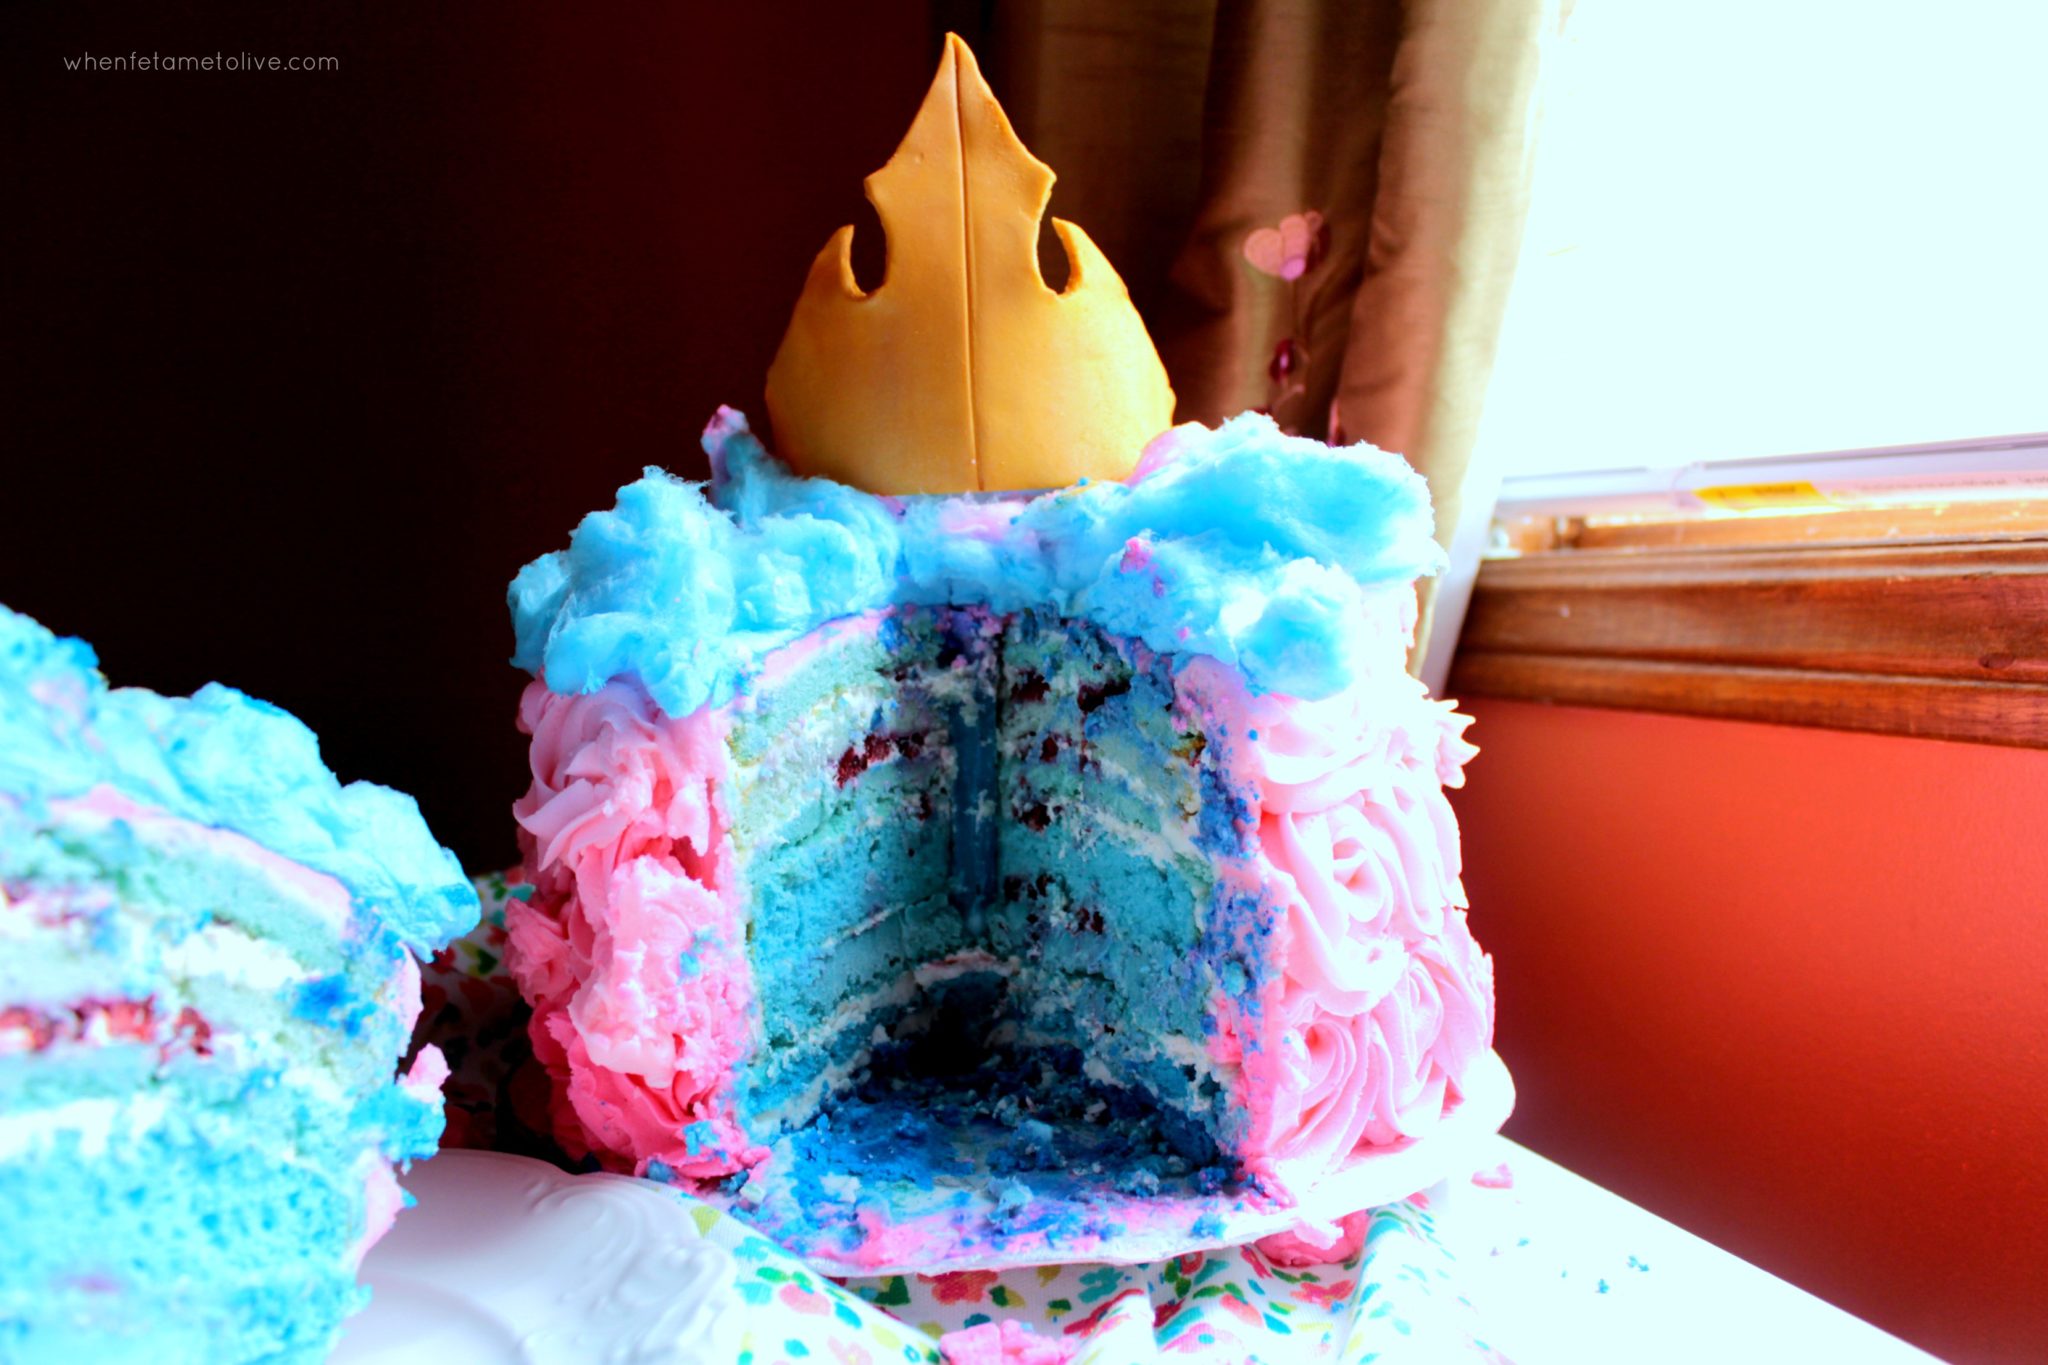


I love the movie very much and this is a great idea for the cake. Thanks for sharing!